NATURALLY DYED SHADES OF BLUE EASTER EGGS
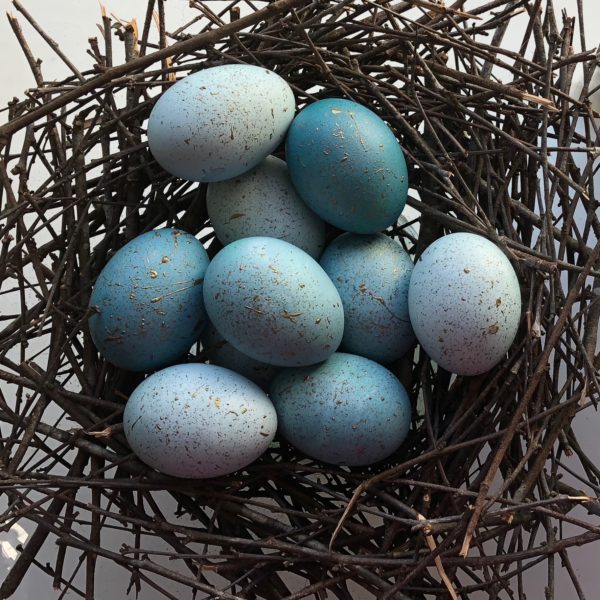
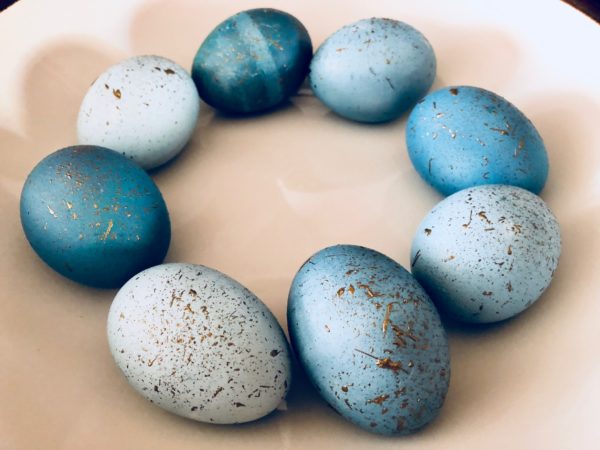
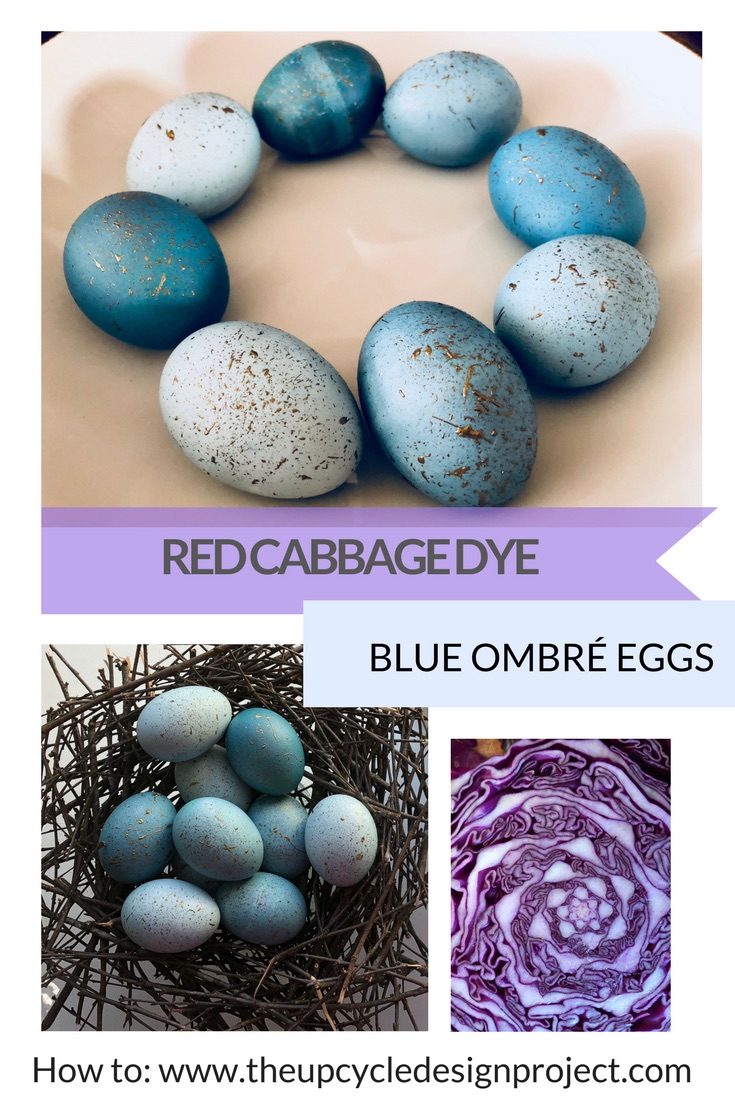
This is one of those projects when I wish Easter lasted all year. I can’t get enough of these fabulous robin-blue eggs!
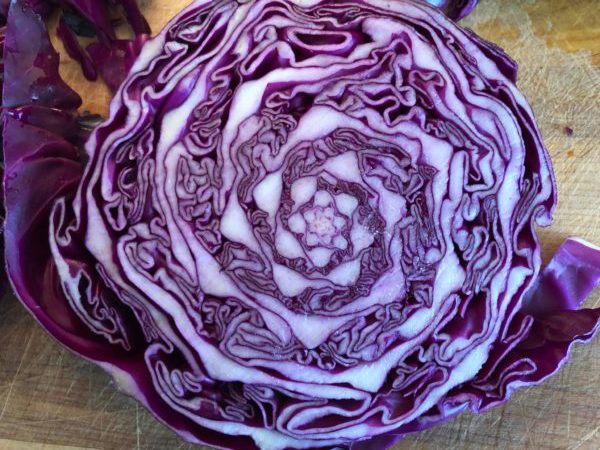
This earth grows the most beautiful fruits and vegetables. Take a look at this purple cabbage. A piece of art…by nature. Hard to believe that this purple veggie will turn white eggs into an amazing ombre of blues.
Once you get hooked on dying eggs with veggies, you will not go back to anything else. A few other color ideas:
- Beets make pink,
- spinach – green
- yellow onion skins – orange
- blueberries – navy blue
- carrot tops or turmeric – yellow
- the list goes on….
LET’S GET STARTED!
WHAT YOU WILL NEED:
- a dozen white- hard boiled eggs
- a pinch of salt
- 1 head of red cabbage
- 2 TBSP of white vinegar
- a pinch of baking soda
- metallic gold paint
- thick bristle paintbrush or old toothbrush
HOW TO:
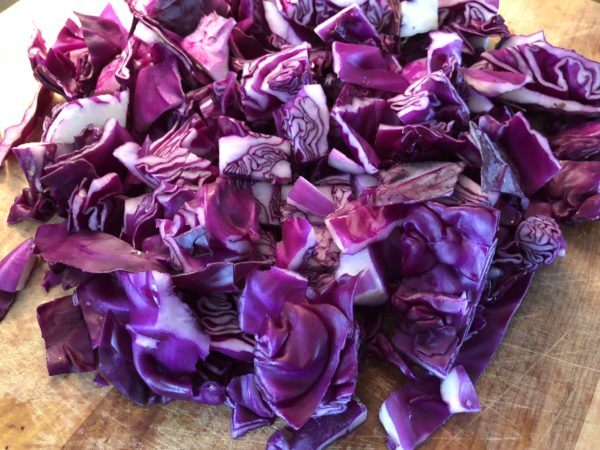
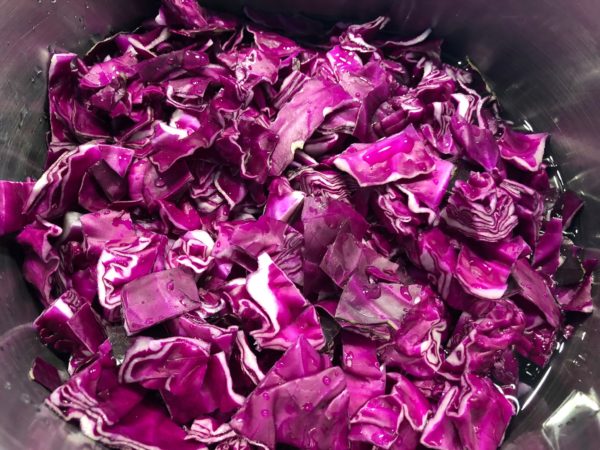
Chop the red cabbage, as pictured. Put the cabbage in a large pot with 4 – 5 cups of water. Notice the water level in the pic, it doesn’t quite cover the cabbage. Bring to a boil and then simmer for 30 minutes or when cabbage is tender.
While the cabbage is cooking, let’s boil the eggs.
Ok, so I know you know how to boil eggs. However I’m going to be very elementary about this and give directions because we can’t have any of these precious eggs cracking! Here we go….place the eggs gently in a large pan, completely cover the eggs with cool water, and add a pinch of salt. Start off with medium heat. If you see the eggs rambling around due to the boiling water, this will crack the eggs. Turn the heat down even if you go to a simmer. Just let them stay in longer. After about 15 mins of low heat, I turned the heat off, covered the eggs and let them sit for a bit.
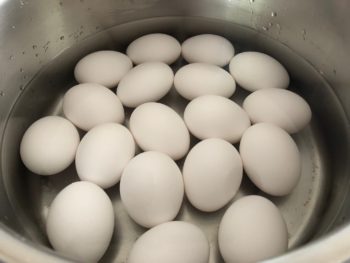
Back to the cabbage…
Once the cabbage has cooked, allow the cabbage to cool completely before straining. Collect all the cabbage juice, then stir in 2 TBSP of white vinegar and add a pinch of baking soda.
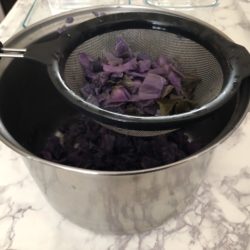
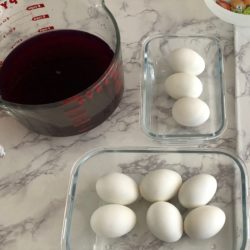
The eggs…
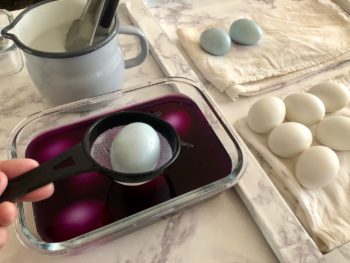
After the eggs have boiled and have cooled down, place the eggs in a glass dish. The dish needs to be deep enough to completely cover the eggs. Place the eggs in the dish first (don’t do what I did and put the dye in first…not a good move!)
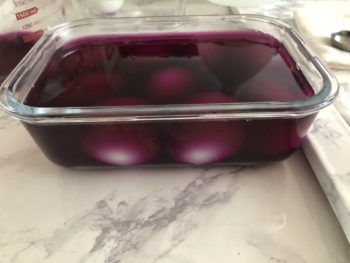
Pour the cabbage dye over the eggs, and watch the magic!
To make sure all the sides are even, take a spoon and move them a little.
The first batch I left in for about 20 mins. I wanted a pale blue. Check them periodically to see what color you like. They darken up a little once they get air and they sit for a minute.
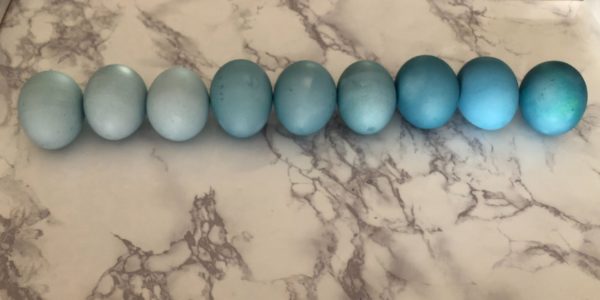
The dying time goes like this…
pale blue- 20 mins
medium blue – 1 hr
medium dark blue – 1.5 hrs
dark blue – 4 hrs
This is what worked for me. It may be different for you, so don’t hunt me down like an Easter egg!
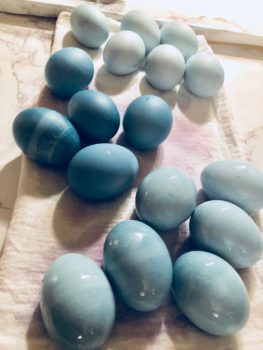
Ready to decorate…
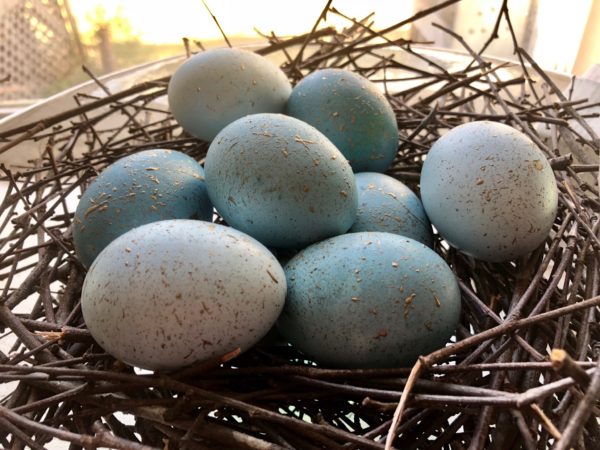
I love these eggs sprinkled with metallic gold paint. You can use metallic silver, white or black paint. They all look beautiful!
You can either use a thick bristle paint brush or a tooth brush. Dip in the paint, then move the bristles back splattering the paint above the eggs, as pictured. Let dry and if you want to do the other side turn them over. That’s it!

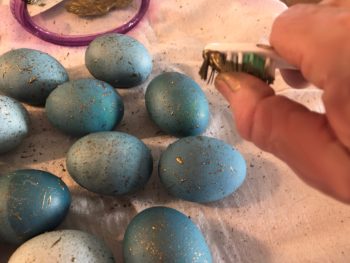
Okay bear with me! I have taken several pics because I can’t get enough these beauts, and you get to see them all!
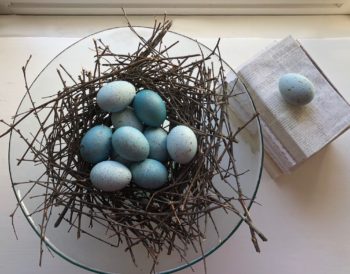
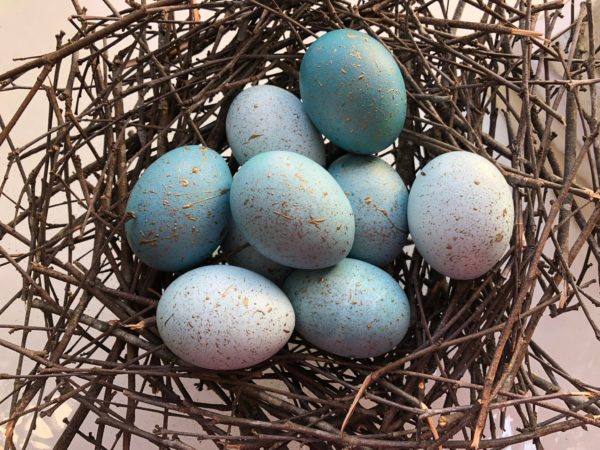
I hope you have fun with this project and experiment away! I gathered a few twigs outside and made a nest, or you can just place in a pretty bowl.
See what I mean? You’ll want these on display all year long!

Enjoy Easter!
and
Happy Springtime!



Great idea and I love the results. You are so creative.
Thank you M-E! 🙂
How cool! I love the ombré effect!
Thank you Haley!
I appreciate the feedback!
I love this !!!!
Thank you Heather!