THRIFT STORE FIND TURNED FARMHOUSE PANTRY
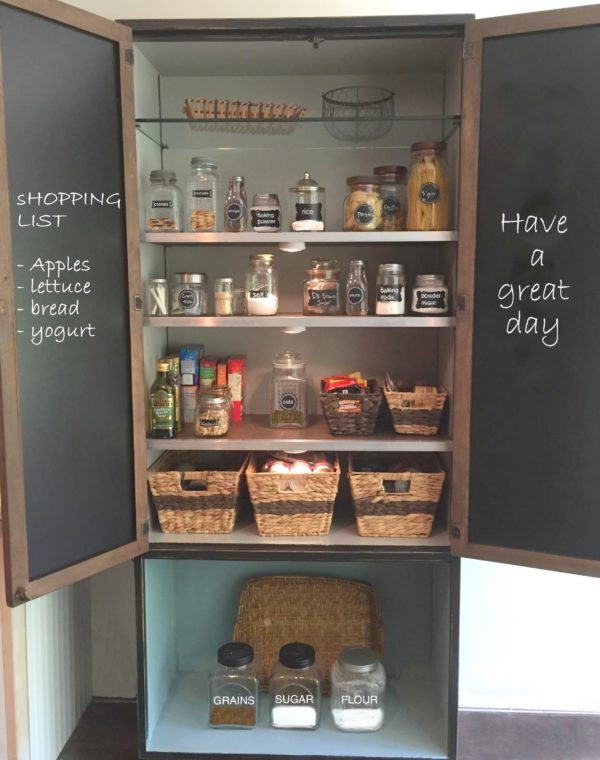
I had a request to share this charming pantry project. However, I don’t want to limit this beautiful piece to just using it as a pantry. I’m thinking linen closet, display cabinet, arts and craft storage, you name it!
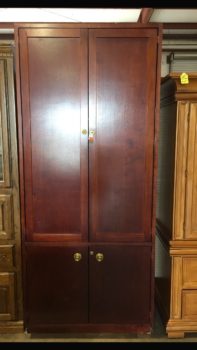
The first thing you’ll want to do is hit the thrift stores or Mom’s basement for the right piece. This is what I found for $65 at a thrift store. Attractive right? :/ You have to think beyond the ugly! Look for the right size that will work for you, and we can change pretty much everything else.
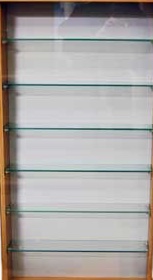
I didn’t get a photo of the inside. Yikes! But this is pretty much how it looked. All glass shelves!
STRIPPING DOWN THE CABINET
I got this baby home, removed all the shelves and doors, got out my belt sander and started sanding off the mahogany finish just on the outside. For my cabinet, I ditched the two bottom doors and kept the two main doors. Be sure to remove the stain on the doors as well. This does take time, however if you have a good belt sander with an 80 grit you’ll be finished in no time!
I then spent the next 15 mins dragging it around a gravel driveway….face down! This was my first step in getting the cabinet to look old and aged. If you don’t have a gravel area, no problem. There are so many other ways to beat up this cabinet!
I used a heavy chain and smacked it around several places, a hammer, a serrated knife, etc. You want notches, nicks and dents. Especially around the door edges and handles. This is where cabinets are naturally worn.
ADDITIONAL SUPPLIES:
You can get everything at Home Depot, Lowe’s or your local hardware.
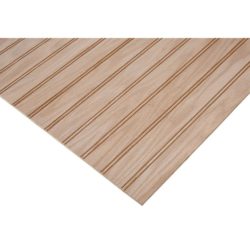
- 1/4″ thick Plywood bead-board panel (front of the doors)
- 3/4″ thick smooth plywood (shelves)
- 1″ Aluminum or galvanized corner 3ft or 4ft strips (edge of shelves)
- Primer paint for inside of cabinet – I used Zinsser Bulls Eye 1-2-3
- Paint for outside cabinet: I used Behr Carbon N520-7
- Paint for inside of cabinet behind shelves – color I used : Behr Spun Wool N220-1
- Paint for inside the bottom opening: color I used : Behr Moon Glass S420-2
- Stain for doors – I used Minwax PROVINCIAL 211
- Sealer – I used : General Finishes Satin Enduro-Var Urethane Interior Topcoat
- Rust-Oleum Flat Black Chalkboard Paint
- Door handles of your choice
- If your cabinet does not have shelving brackets, you will need brackets shown below.
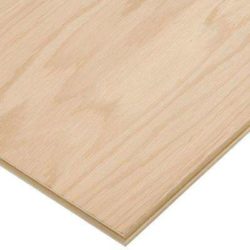
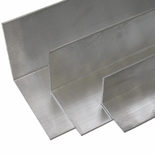
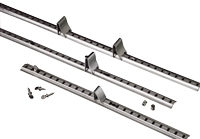
REMODELING THE CABINET
At this point we have a stripped down, beat up cabinet. Let’s start giving this cabinet some love and life purpose!
- Paint the primer on the inside of cabinet. This is where you still have the stain. **If you are using chalk paint, you can skip the primer.
- Paint the outside and inside of the cabinet. I listed the colors I used above – ADDITIONAL SUPPLIES.
- Once dry, I used 400 grit sandpaper to sand the outside, especially the edges to give the feel of an old farmhouse cabinet.
- Apply the satin seal.
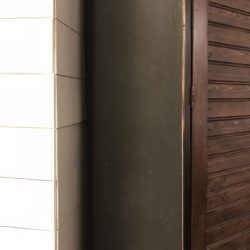
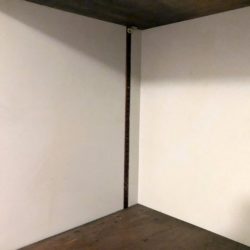
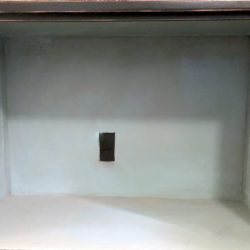
THE DOORS
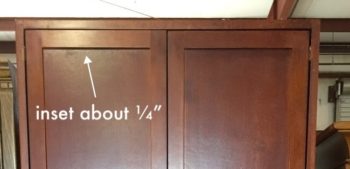
The original doors on this cabinet were perfect because they were already framed out, so the bead-board worked great! See photo below.
- The doors should be free of stain after sanding. Stain the doors.
- Cut the bead-board to fit between the frame on the doors. If your original door is flat, you can add the trim around the bead-board to resemble these doors.
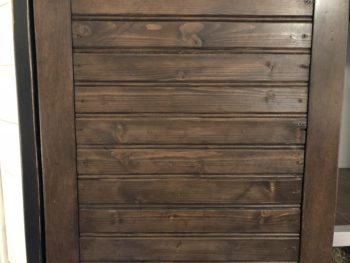
- Once cut, stain the bead-board.
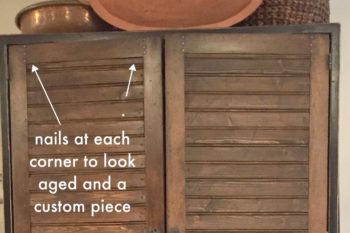
- Add the bead-board to the front of the doors. I used small nails and evenly hammered in so the nail heads would show. I also added nails to the trim as show in the photo. This gives the cabinet the look as if it has been used for years.
- Lightly wipe stain over the doors again.
- Seal with satin sealer.
DOORS ON THE INSIDE
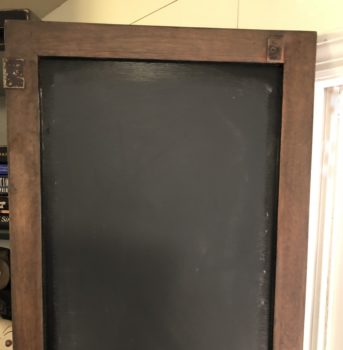
- Hoping that you stained the entire door, the trim on the back of the door will be stained.
- Paint black chalk paint inside the trim area.
- To “season” the chalk board – using chalk on it’s side, cover the black paint with the chalk, then wipe off. If you use water to wipe off the chalk you will need to re-season the chalk board. This insures you will be able to erase what you’ve written on the board…with chalk that is!
- Now you can make your grocery list on the chalk board, then take a pic with your phone for when you go shopping!
THE SHELVES
- Add the shelving brackets. Pictured are what I used. Actually they were already in the cabinet. Score!
- Measure and cut the 3/4″ plywood to fit inside the cabinet. I used 3/4″ thick because this was used for a pantry, therefore I needed the support.
- Stain the shelves after they have been cut to fit.
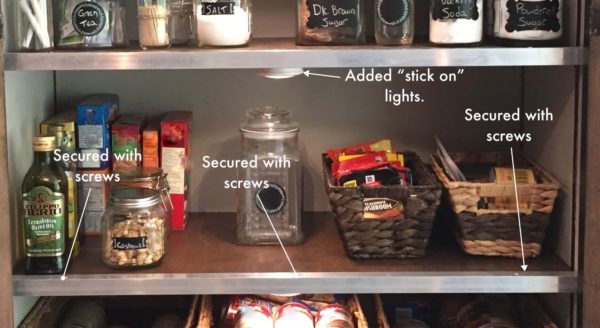
- I used the 1″ corner aluminum strips to cover the edges of the plywood, and to give it the industrial look. It also served as a “lip” on the edge to keep your items secure.
- Cut the aluminum corner strip to fit the length shelf.
- Using a metal drill bit, drill 3 holes on the top the aluminum strip. See in photo below.
- Now secure the corner strip to the front of the shelf with the screws on the top.
- Place your selves on the brackets.
- I added “stick on” lights for additional detail.
ATTACHING THE DOORS
- Before attaching the doors, sand down the hardware a little. You can wipe over it lightly with a little stain or acrylic brown paint. Just make sure you don’t have a shiny new hardware!
- Attach the doors. Same with the screws if they have a shine- touch up with a little stain or paint.
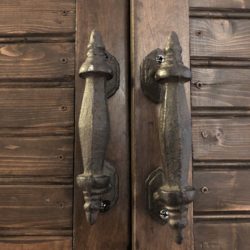
- Now add your handles!
STEP BACK AND CHECK OUT THIS BEAUTY!

I hope this has inspired you to find your perfect thrift store find. I would love to know how your projects are going!





Again…. nailed it!!!